New in H2R Gear v2.12
A rewritten cable engine that routes around your gear, plus cable shortcuts and a long list of fixes.
Read more →New in H2R Gear v2.12
A rewritten cable engine that routes around your gear, plus cable shortcuts and a long list of fixes.
Read more →A cable represents a cable in real life. It also represents a connection path.
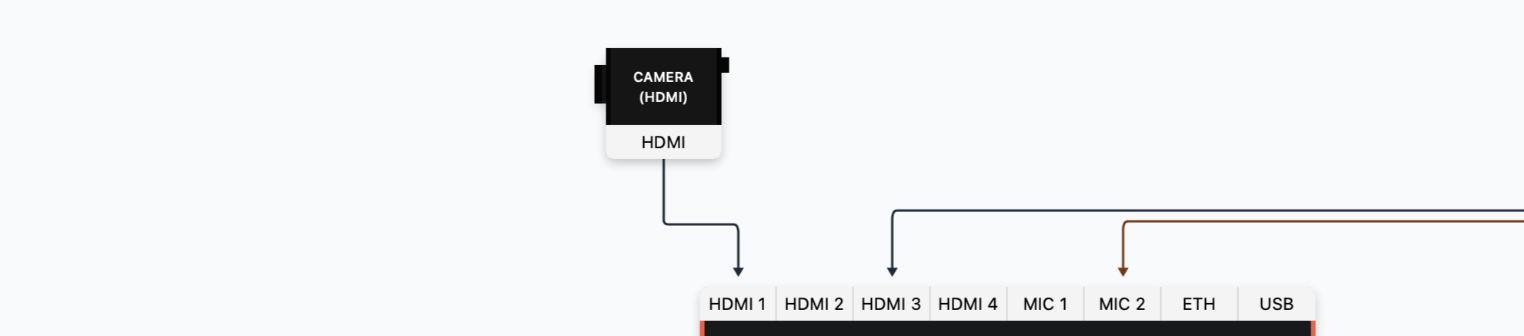
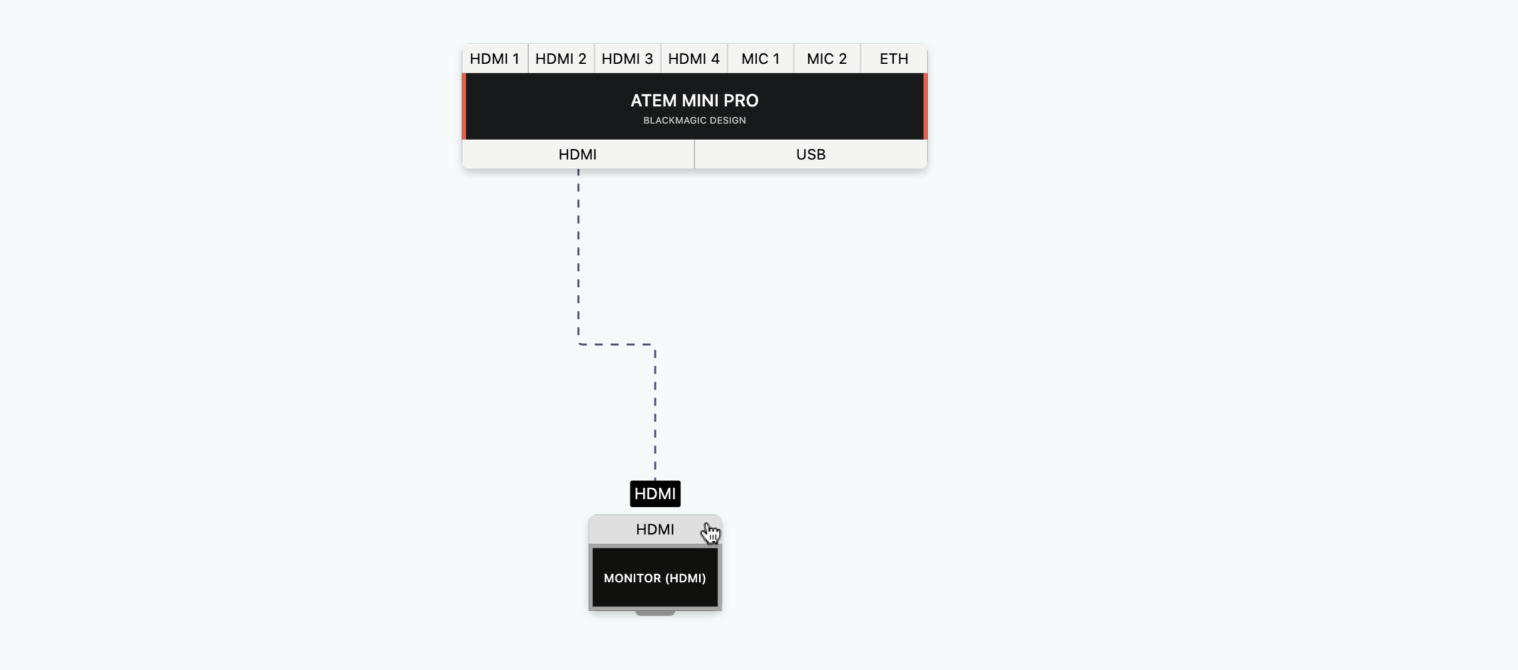
Cables are drawn from output to input.
Think of it like "I will connect the output of this item to the input of this item".
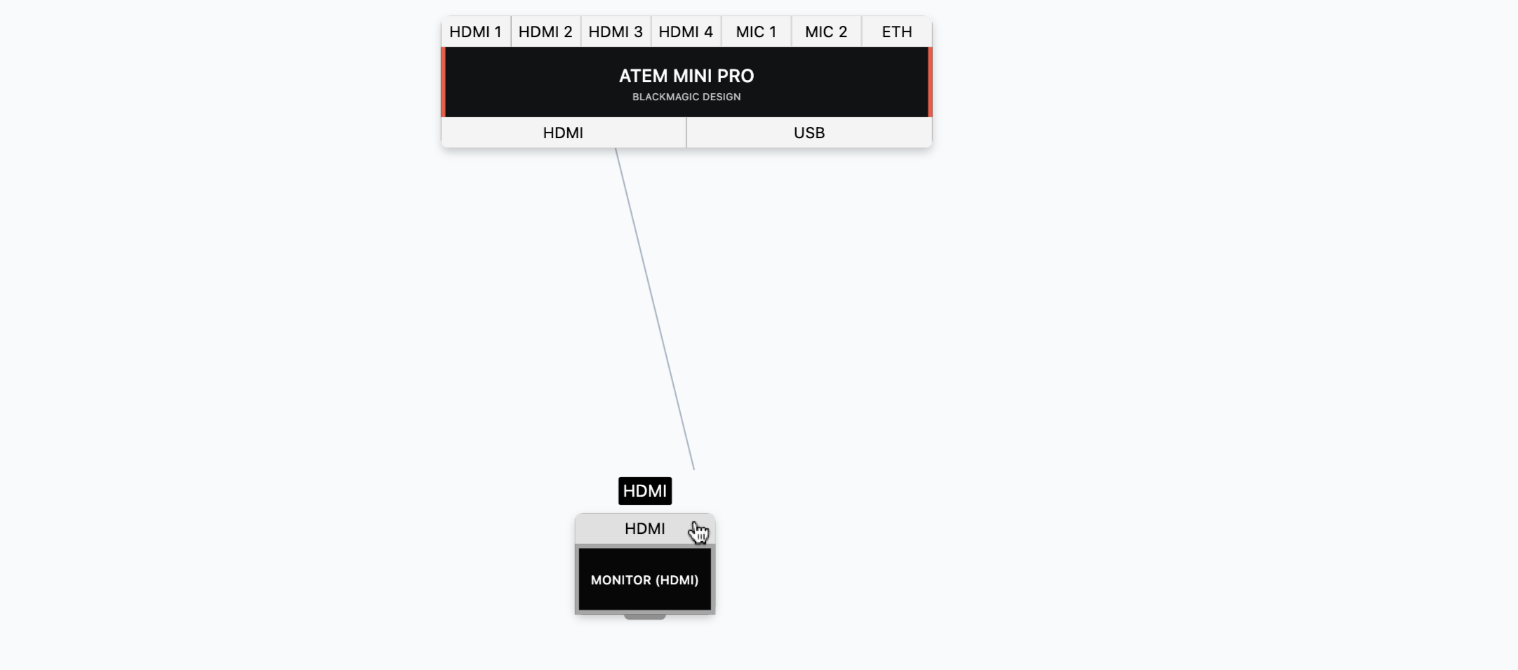
Click on an output and start dragging towards an input to create a cable.
Release your cursor to finish the cable.
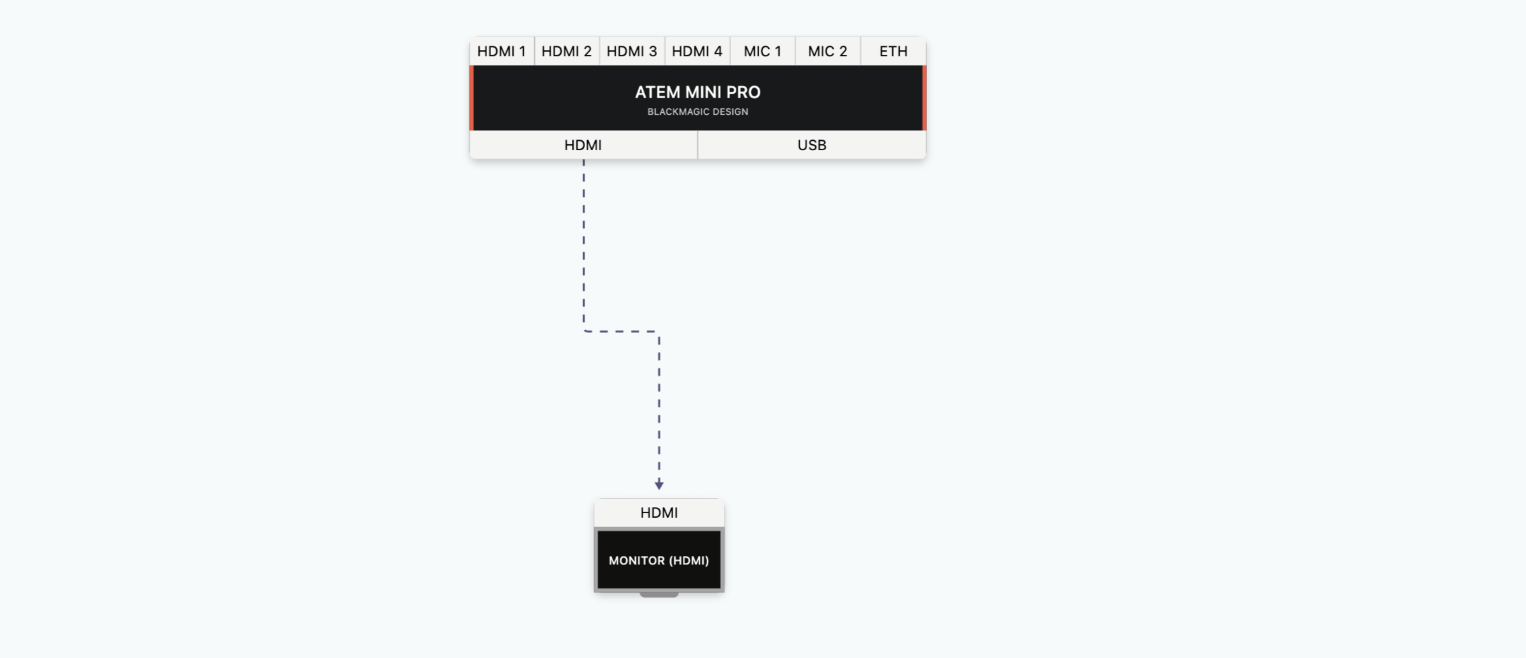
If the input and output do not match then the cable will not connect.
Sometimes plans get busy. That’s when cable pins come in very handy. These help re-route cables to a location that best suits you.
If you have turned on the new cable routing, drag the cable's handles instead of adding pins.
To add a cable pin, click anywhere on a cable and choose Add pin.

Adding the pin will create a draggable handle for re-routing your cable.

Double-click on the pin to remove it. Alternative you can click on the cable and choose Remove pin.
Cable labels are added to all cables and are very helpful to identify if the cable has an ID or length.
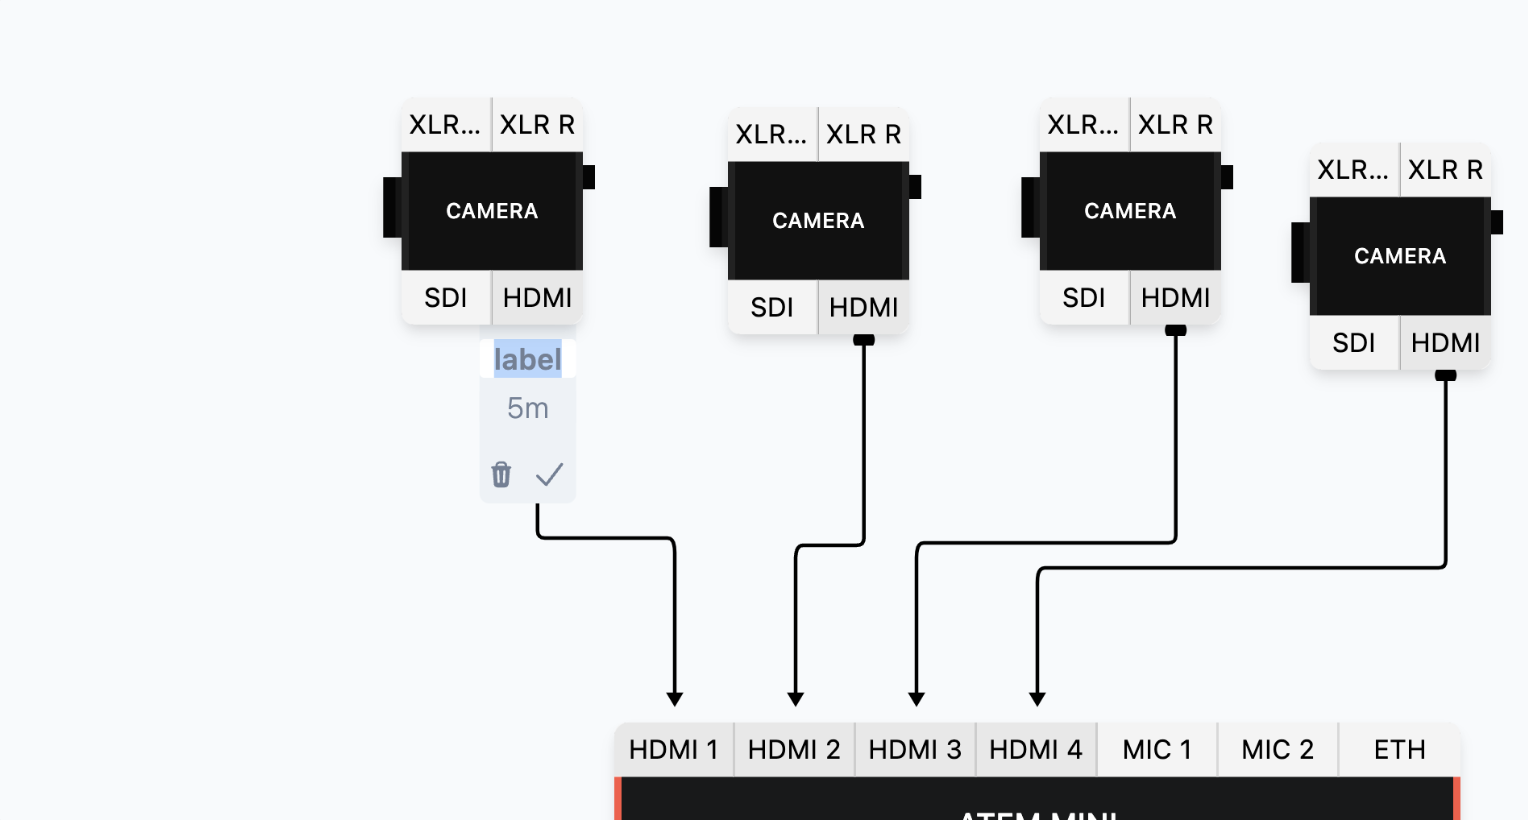
If you don’t want a label, holding Option or Alt while drawing a cable skip the creation of the label.
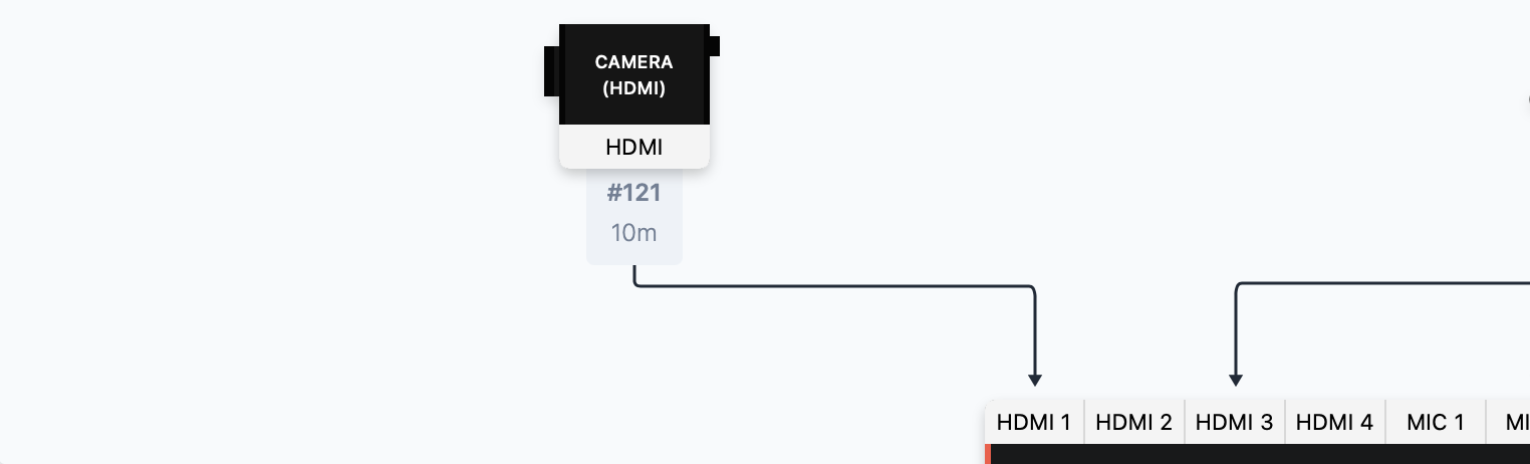
Typically the Label can be used as an ID marker for the particular cable.
The second item is for the length of the cable.
Cable lengths will also appear on your Packlist!
H2R Gear can draw your cable routes for you. This is a beta feature, so you turn it on per plan: open Options → Cables and tick Try new cable routing.
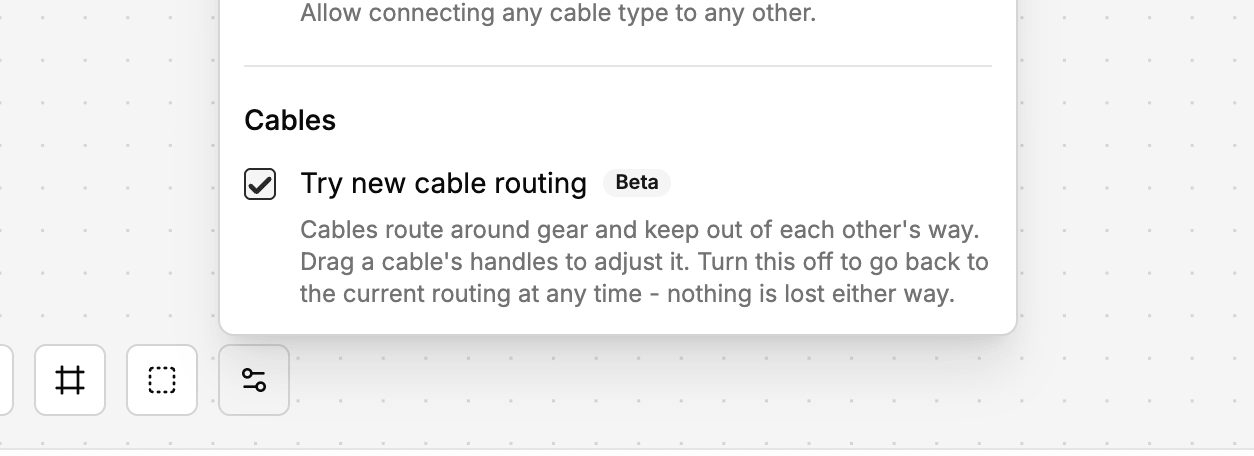
Your existing plans are untouched. You can turn it off again at any time to go back to the current routing, and nothing is lost either way.
With the new routing on, cables bend around the items on your plan rather than running straight through them.
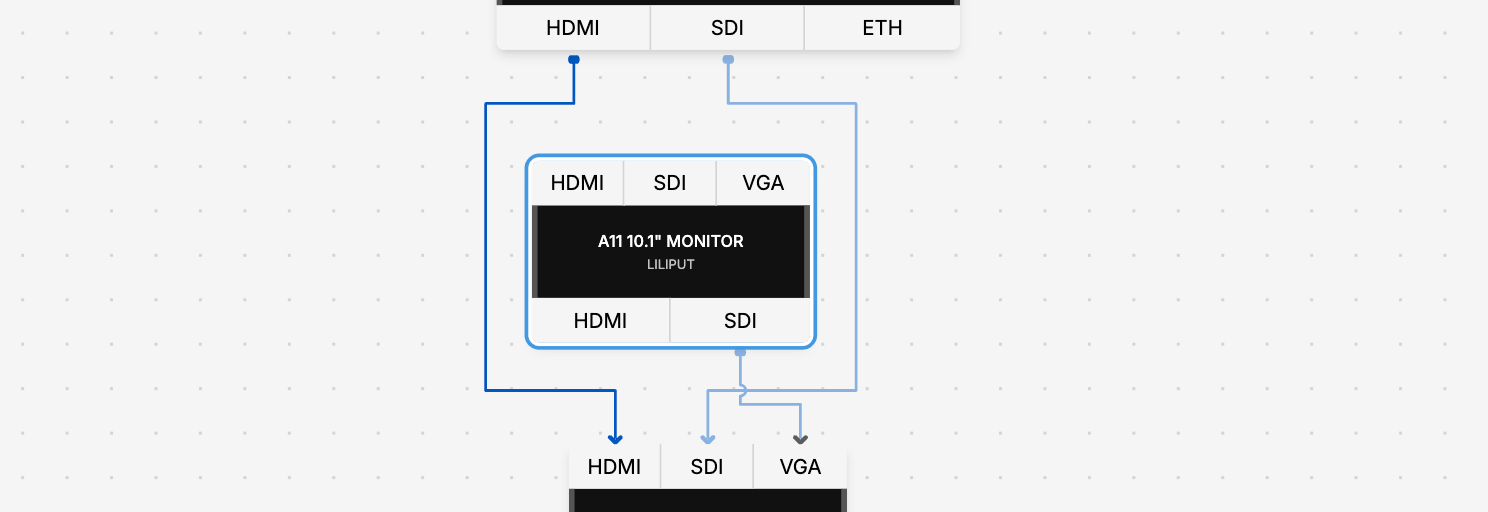
When several cables share the same corridor, each is nudged into its own lane instead of stacking on top of the others.
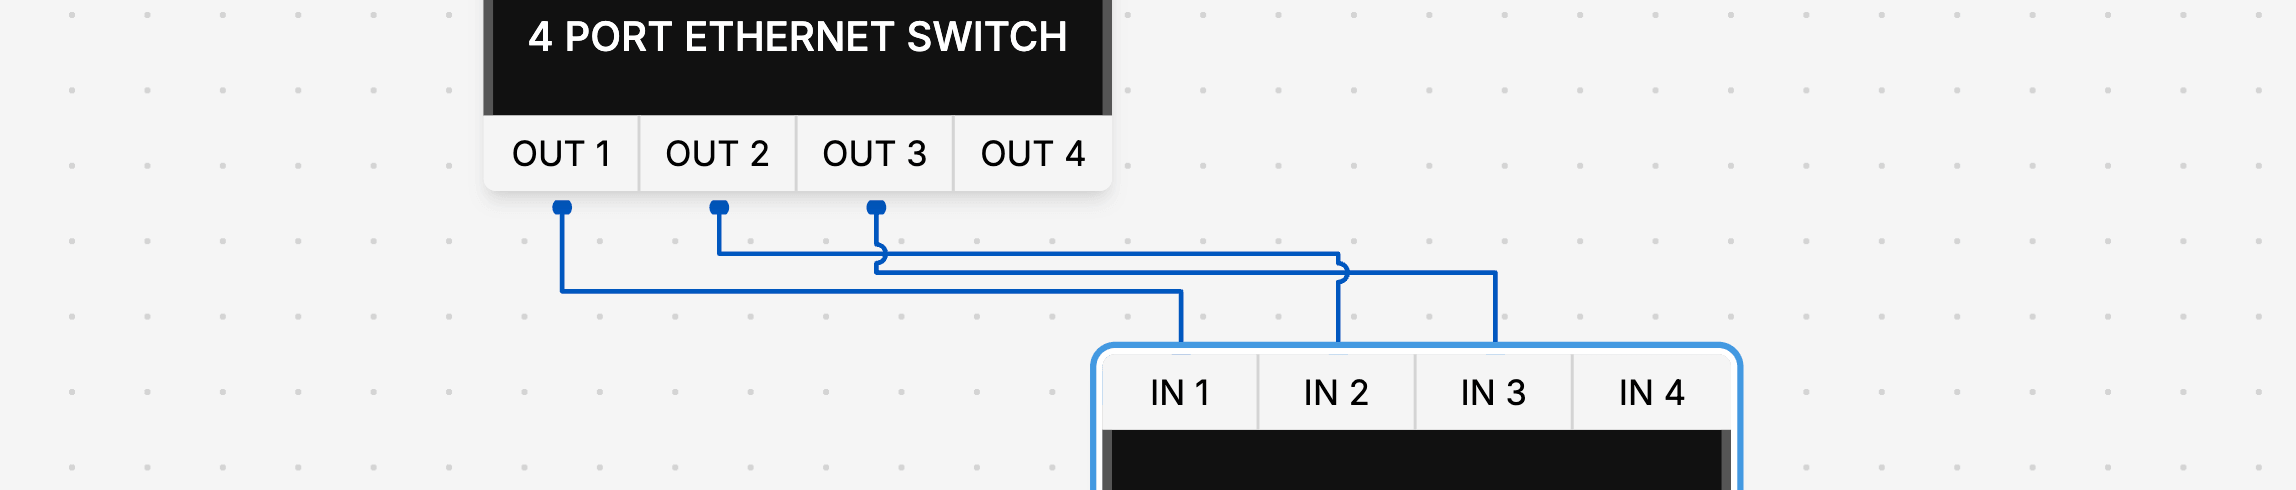
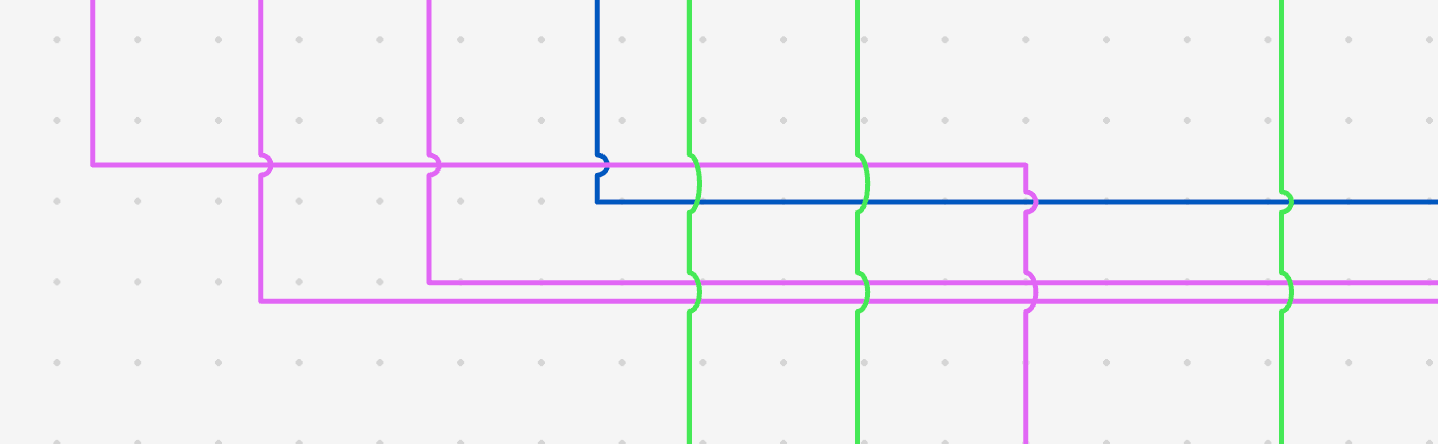
Where routes still have to cross, bumps show you which cable passes over.
Select a cable and drag the handle on any straight run to shift it, the same gesture used in tools like draw.io or Visio. The original route stays on screen while you drag so you can see what you are changing.
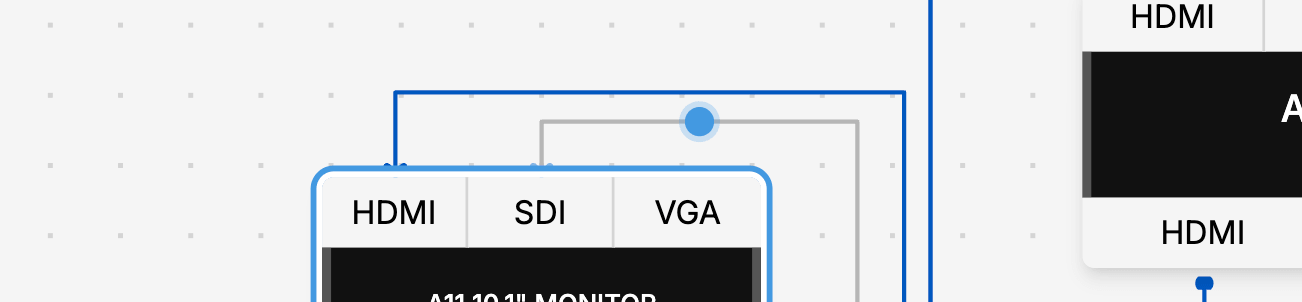
Your adjustments are saved with the plan.
Hand adjustments replace cable pins when the new routing is turned on.
Select a cable and press a key:
D - delete the selected cable.L - add or remove a cable label.H - hide or show the cable route (Left-to-Right plans).All shortcuts are listed in the keyboard shortcuts panel.
When two cables cross each other on the canvas, H2R Gear will automatically bump one over the other. This keeps busy plans easy to read and lets you follow a single cable from end to end without losing track.
Some cables carry signal in both directions. USB, Ethernet and Fibre cables are treated as bidirectional in H2R Gear and do not show a direction arrow.
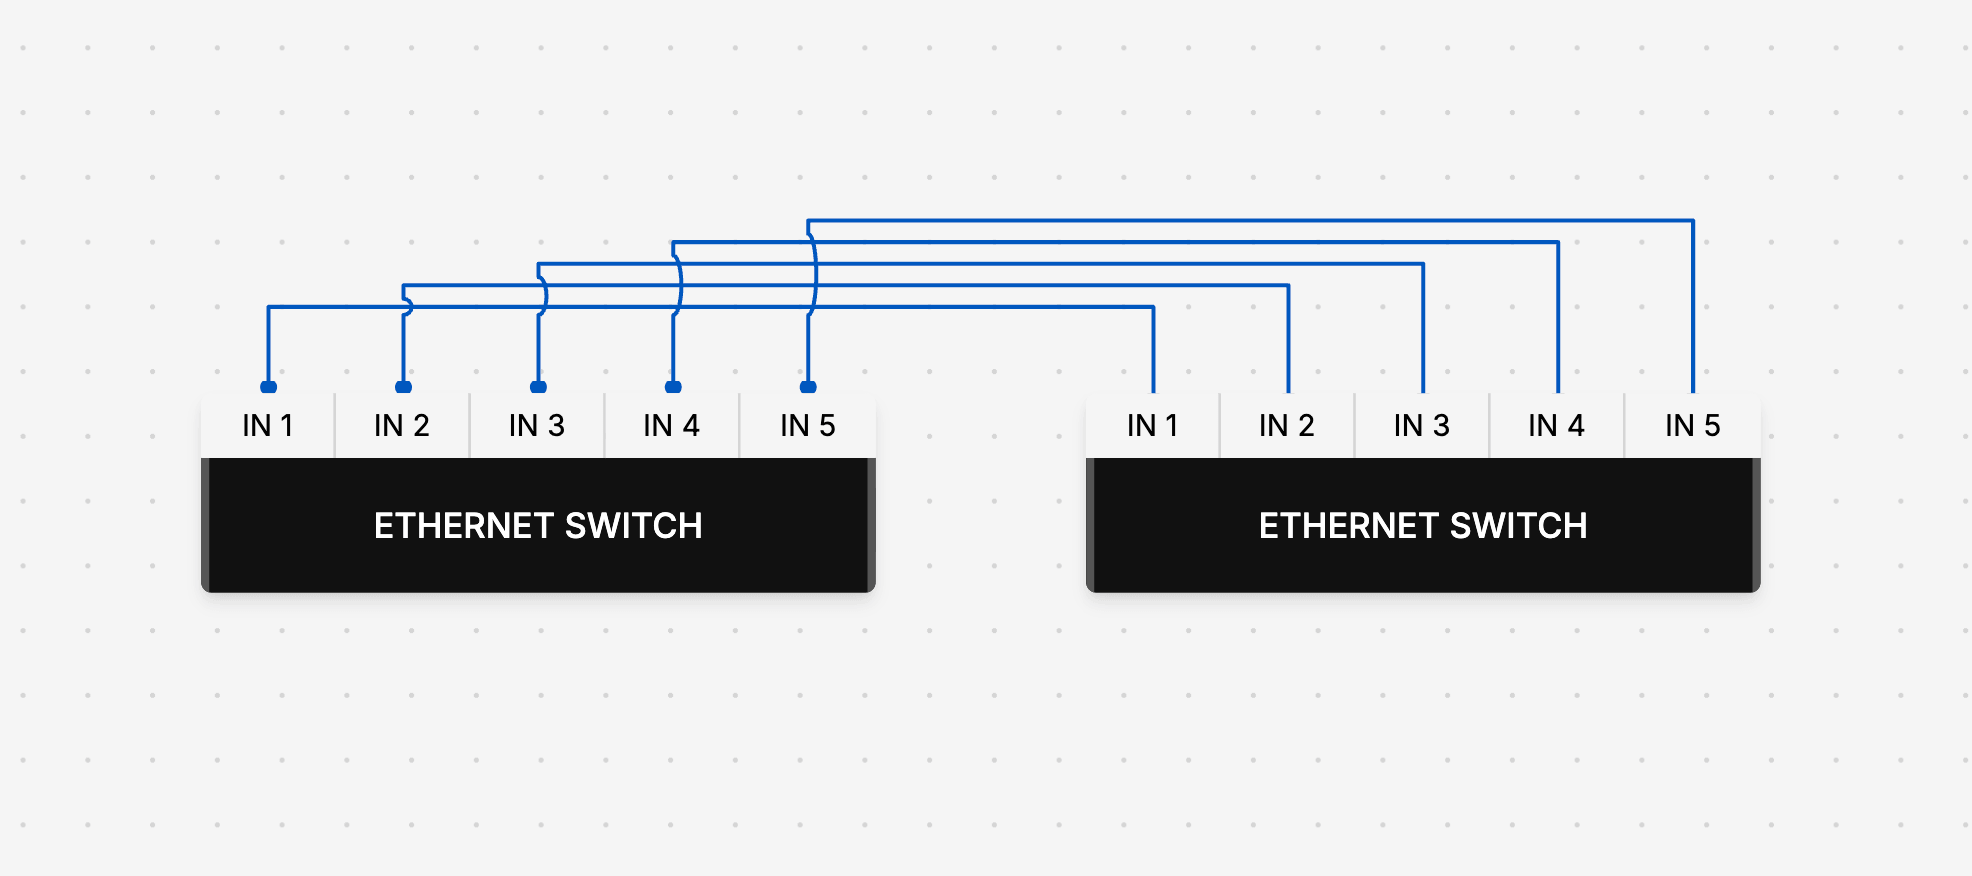
This is reflected on the plan and in the Cables legend.
Hovering or focusing on a connection will highlight it on the plan, along with the matching cable type in the Cables legend.
This is the quickest way to trace a signal path in a complex plan.
There are three ways to remove a cable:
Start re-drawing the cable.
Single-click the start of the cable (output side).
Double-click the input side.
Ready to get organised?
Start using H2R Gear to plan your next setup.