New in H2R Gear v2.13
Draw the room around your gear with new shapes, symbols and a drawing toolbar.
Read more →New in H2R Gear v2.13
Draw the room around your gear with new shapes, symbols and a drawing toolbar.
Read more →By John Barker • 21 April 2026
Order a cable too short and the show stops while someone drives to a hire shop. Order it too long and you are coiling 10 metres of HDMI behind the rack and paying for cable nobody needed. Sizing is one of those small skills that quietly separates the people who run smooth shows from the people who do not.
Here is the method we use to spec cable lengths for installs and shows, without measuring tape gymnastics and without expensive over-ordering.
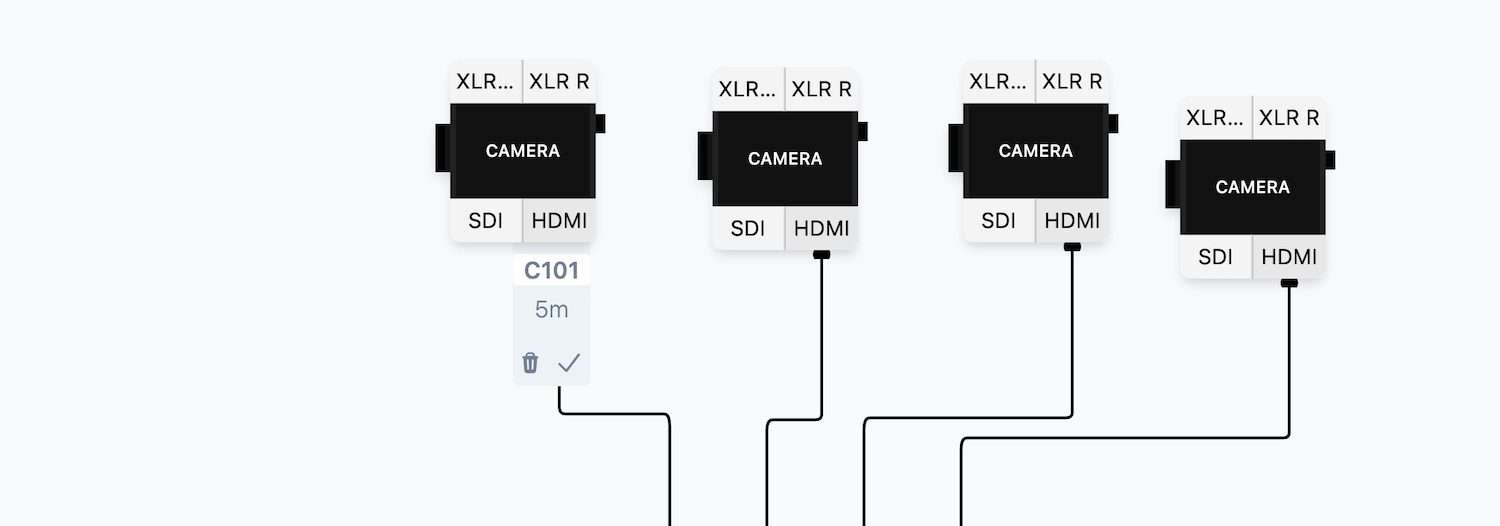
Whether you are pulling a cable across a stage or up through a ceiling, start with the actual straight-line distance from end to end. Use a tape measure, a laser measurer, or a floor plan if you have one. Round up to the nearest foot or half a metre.
This is your base distance. It is not your cable length.
Cables do not run in straight lines. They go around corners, drop down racks, loop through cable trays and curve over the edges of stages. The slack you add to the base distance is what makes the cable actually reach.
A working rule of thumb:
A 50ft (15m) straight line in a typical stage setup ends up needing a 60ft (18m) cable. A 12ft (3.5m) run in a rack needs a 15ft (4.5m) cable. The slack is not waste, it is what gets you through the show.
Length is not just about reach, it is about whether the signal survives the trip. Each cable type has a sensible working limit.
Spec the right cable type for the distance, not the other way around. If you find yourself ordering a 100ft (30m) passive HDMI, that is the moment to switch protocols, not the moment to gamble.
For touring gear and stock kit, do not buy one of every length. Pick a small set of common lengths and standardise around them.
A typical AV stock looks like:
Round up to the nearest stock length. A 5m run uses an 8m cable. The extra three metres do not hurt, and you have a cable that lives in the case forever rather than a custom length that does one show.
Installs are different from shows. A cable in a wall is staying there. Add a more generous slack allowance, terminate with strain relief, leave a service loop behind each face plate.
For pulls through conduit, add 10% for the wiggle of the actual pull plus enough at each end to dress into the back box. For ceiling runs, add a service loop above each drop. For long runs between racks, leave an extra 18 to 24 inches (45 to 60cm) at each end so the cable can be re-terminated if a connector fails.
The cost of an extra foot of cable is pennies. The cost of pulling a fresh run through a finished wall is hundreds.
This is exactly the kind of question a wiring diagram answers for you. If you have already drawn every cable in your plan, the lengths fall out of the diagram, and the cable key on the side of the plan tells you exactly how many of each length you need.
H2R Gear has a cable length calculator built in for the rough sums, and the cable key on every plan tells you how much of each cable type you need to bring. Spec from the plan, order from the cable key, pack from the packlist. Three documents, one workflow, no surprises at the loading dock.
Before you place that cable order:
Two minutes of checking saves two days of waiting for a re-order.
For more on managing cables in your plans, see the cables documentation.
Ready to get organised?
Start using H2R Gear to plan your next setup.
Get H2R Gear product updates
New features, templates and tips, straight to your inbox.
No spam. Unsubscribe any time.